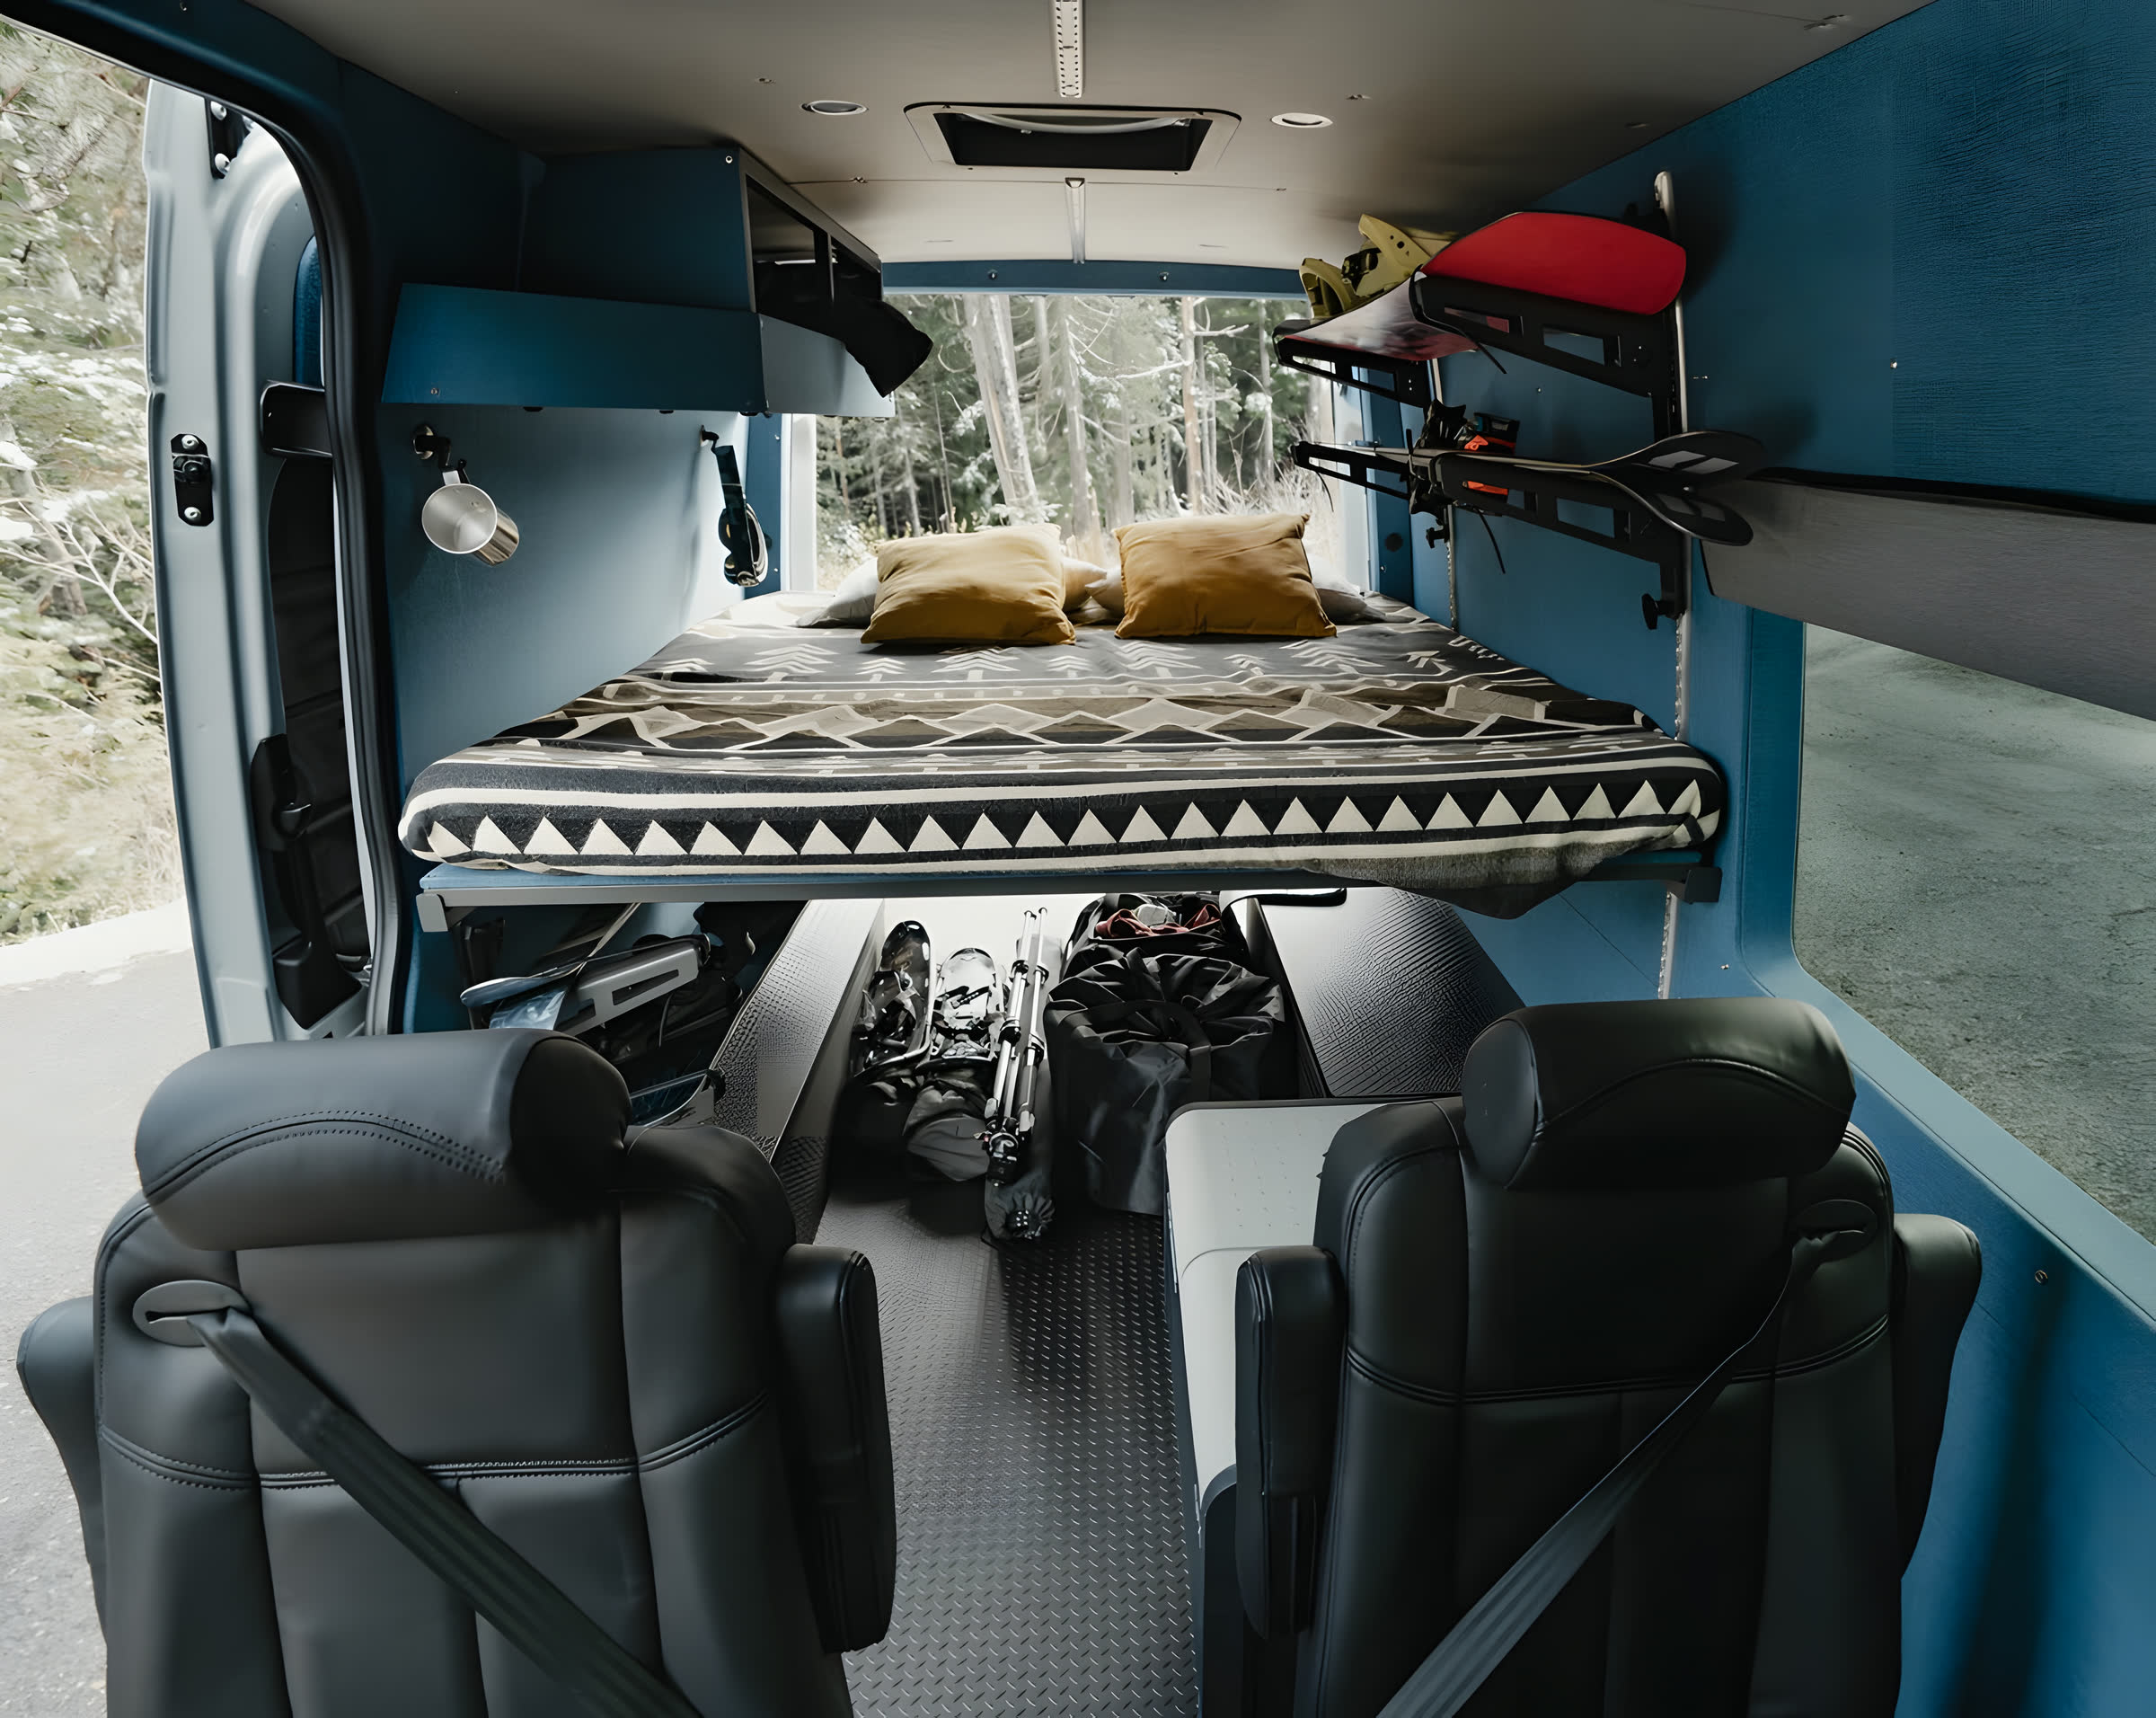
How to Winterize a Camper Van in Alberta: A –30 °C Step-by-Step Checklist
Alberta winters bring –30 °C nights, wind chills near –45 and Chinook freeze-thaw swings that test a camper van's water lines, batteries, heater and seals. This 12-step checklist covers heat, water, batteries, condensation, safety and tires.
Alberta winters can bring overnight lows in the –30s, wind chills approaching –45, and Chinook swings that melt snow one afternoon and flash-freeze it the next. These weather variations test the water lines, batteries, heater and seals of a camper van.
Winterizing a custom camper van is a different job from winterizing a travel trailer. The space is compact, so moisture builds up fast. The electrical system often runs on lithium batteries that react to cold very differently from old-style RV batteries. The heater is usually a diesel or propane unit that doubles as your life-support system. And the water system may be a small, tightly packed set of tanks and lines, or a hydronic loop that behaves differently from anything in a standard RV manual.
How do you winterize a camper van in Alberta?
Decide whether you are storing the van or using it, then service the heater, protect the batteries, drain or protect the water system, seal and insulate the cabin, control condensation, test your carbon monoxide alarms, prepare the vehicle and tires, pack a cold-weather kit, and do a test night before the first deep freeze.
This checklist walks through all 12 steps in order, with the Alberta-specific details that generic guides leave out.
The 12 Steps
- →1. Decide Whether You're Storing the Van or Winter Camping in It
- →2. Service the Heater and Fuel System
- →3. Prepare the Batteries and Electrical System
- →4. Protect the Water System From Freezing
- →5. Seal Up Roof Vents, Doors and Windows
- →6. Insulate the Weak Points
- →7. Get Condensation Under Control
- →8. Test Your Carbon Monoxide, Smoke and Propane Alarms
- →9. Get the Vehicle Winter-Ready
- →10. Pack a Cold-Weather Emergency and Sleep Kit
- →11. Plan Your Parking, Power and Routes
- →12. Do a Test Night Before the Cold Snap
What –30 °C Actually Does to a Camper Van
It helps to know what you are protecting against. Cold does not just make a van uncomfortable. It changes how the systems inside it behave, and some of those changes cause expensive damage if you are not ready for them.
Calgary's typical January overnight low sits around –12 °C, but the average hides the real story. Cold snaps that push overnight lows into the –30s, with wind chills near –45 or worse, arrive most winters, and mountain valleys along the routes ski vans travel tend to run colder than the city. A van that is "fine at –10 °C" is not necessarily fine at –30 °C, which is why this checklist is written for the worst nights, not the average ones.
1. Decide Whether You're Storing the Van or Winter Camping in It
Everything else on this list depends on this decision. Winterizing a van for storage means shutting systems down so nothing can freeze, leak or grow mould while the van sits. Winterizing a van for winter use means keeping those systems running safely in the cold.
Many Alberta owners do a bit of both: a few ski weekends, then weeks of the van sitting in a cold driveway between trips. If the van will sit unheated at subzero temperatures between outings, treat it as stored between trips and drain the water system each time, even if you are "using it all winter."
2. Service the Heater and Fuel System
Your heater is the most important system in the van from November to March, so test it before you need it.
- —Run a full test: Start the heater, run it on high for a while, and watch for error codes, unusual smells, smoke, weak airflow or a rough-sounding exhaust. A heater that struggles in October will not do better at –30 °C.
- —Check the intake and exhaust: Diesel and propane heaters pull in outside air and push exhaust outside. Make sure both openings are clear, undamaged and not blocked by snow, ice or debris.
- —Follow the service schedule: Diesel air heaters, such as the Espar units we install in our ski van builds, and hydronic systems both have manufacturer service intervals for filters, fuel lines and burn chambers. If you are past due, get it done now.
- —Use winter-blend diesel: Fuel that isn't suitable for cold weather can thicken and gel. Fill up with appropriate winter-grade fuel and use a compatible anti-gel treatment only if recommended for your vehicle and heating system.
- —Keep the tank at least half full: Many heaters draw from the same tank as the engine. Keeping the tank above half gives you a buffer for cold mornings and for the day a road closure leaves you waiting.
- —Check for altitude requirements: Some heaters need an altitude adjustment when you camp on high mountain passes. Check your manual before a trip to the Rockies.
- —Inspect propane equipment: If your van uses propane for heat or cooking, inspect hoses, fittings, regulators and cylinders, and make sure the system is installed, stored and maintained according to applicable requirements and manufacturer instructions.
- —Storing the van? Switch the heater off, and fill the fuel tank before storage to reduce condensation inside it. Add a fuel stabiliser only if your manufacturer recommends one.
3. Prepare the Batteries and Electrical System
Cold is hard on batteries, and the type of battery in your van changes what you need to do.
- —Know your battery chemistry: Lithium (LiFePO4) batteries should not be charged below 0 °C unless they have low-temperature charging protection or built-in heating. Charging them while frozen can permanently damage the cells. Check your spec sheet or ask your builder whether your battery has a low-temperature cutoff or a self-heating feature.
- —Keep the battery inside the warm zone: A battery bank located inside the insulated, heated cabin stays far warmer than one outside it.
- —Plan for less capacity: Every battery type delivers less usable power in the cold, and your heater fan, water pump and lights will all draw from that smaller supply. Size your overnight power budget on the conservative side.
- —Expect weaker solar: Short winter days, low sun angles and snow on the panels cut solar output sharply. Brush snow off panels when it is safe to do so, and rely on alternator charging and shore power to fill the gap.
- —Test the starter battery: A tired vehicle battery that starts the van in September can fail at –25 °C. Have it load-tested, and replace it if it is weak.
- —Carry a jump pack: A portable lithium jump starter is small, light and worth its space in winter.
- —Storing the van? Fully charge the batteries, then either connect a maintainer or use the battery's storage or shutdown mode if it has one. Check the charge level once a month.
4. Protect the Water System From Freezing
Frozen water is the most common cause of winter damage in a camper van. Water expands as it freezes, and it will split a fitting, crack a pump housing or burst a tank without warning.
Because custom builds differ, with interior tanks, hydronic heating loops and diesel water heaters all in the mix, check your build's manual or ask your builder where your drain points and bypass valves are before you start.
If You're Storing the Van
- —Drain everything: Empty the fresh water tank, grey tank and any water heater. Open every low-point drain and every faucet, including any outdoor shower.
- —Clear the lines: After draining, push the remaining water out of the lines with low-pressure compressed air. Use a regulator and stay within your plumbing's pressure limit, because a shop compressor can easily deliver more than camper van plumbing can handle.
- —Add RV antifreeze where the manual says to: Pour a small amount into drain traps and the toilet, and follow the manufacturer's instructions for the pump and lines. Use only propylene glycol RV or marine antifreeze. Never use automotive antifreeze in a water system, because it is toxic. Check the label for its freeze-protection rating, and choose one protected well below –30 °C.
- —Dispose of leftovers properly: Take unused antifreeze to a household hazardous waste drop-off rather than pouring it on the ground or down a drain.
If You're Camping in Winter
- —Keep water systems inside the warm envelope: Tanks and lines inside the insulated, heated cabin are far safer than anything exposed under the van.
- —Do not leave the van cold with water in it: If you are leaving the van for a day on the hill with the heater off, the cabin can drop well below freezing. Either keep the heater running at a safe low setting or drain the system before you leave.
- —Protect the grey tank and toilet: A small amount of RV antifreeze in the grey tank and toilet stops them from freezing solid.
- —Plan for closed facilities: Many water fill stations and dump sites close or shut off for winter. Fill up and dump whenever you pass a working facility.
- —Have a thaw plan: If a line freezes, thaw it with gentle warm air. Never use an open flame, and shut off the pump until the ice is gone.
5. Seal Up Roof Vents, Doors and Windows
Water that gets in during a Chinook thaw freezes behind the panel that night, and ice expands into every gap it can find. Sealing the van before winter keeps moisture out and warm air in.
- —Inspect the roof: Check the sealant around the roof fan, vents, solar panel mounts and cable entry points. Cracked, shrinking or peeling sealant should be cleaned and resealed with a product suited to your roof material.
- —Check door and window seals: Look at the sliding door, rear doors and every window gasket. Rubber that is cracked or flattened lets cold air through and can freeze doors shut. Treat door seals with a rubber-safe protectant recommended for your vehicle to help prevent sticking and freezing.
- —Cover vent openings: Insulated vent covers reduce heat loss through the roof while still allowing airflow where you need it.
- —Close pest entry points: Mice look for warm shelter as the weather turns. Inspect potential pest entry points around pipes, cable entries and underbody openings, and seal appropriate gaps using materials suitable for the location. Avoid blocking required ventilation or drainage openings.
- —Storing outdoors? Use a breathable cover rather than plastic, which traps moisture against the van.
6. Insulate the Weak Points
A well-built van keeps most of its heat inside its walls, floor and roof. In most vans, heat escapes through the places that have little or no insulation: the glass, the vents, the cab and the floor.
- —Cover every window, including the windscreen and cab windows: Insulated window covers noticeably cut heat loss on a –30 °C night. Our Alberta builds include insulated window covers for this reason.
- —Block the cab: A thermal curtain behind the front seats stops the cab, which is mostly glass, from pulling heat out of the living space.
- —Look for cold spots: Cold floors, metal ribs and the sliding door frame carry cold into the cabin. Add rugs or interlocking foam mats over cold floor areas.
- —Lift the mattress: A mattress lying flat on a cold surface collects moisture underneath it. A ventilated underlay or a slatted base lets air move and prevents mould.
- —Check your windows: Double-pane windows reduce heat loss and the condensation that comes with it.
Insulation is mostly a build-time decision, because you cannot easily add thickness behind finished walls. If you are planning a van for Alberta winters, it is worth reading about how we approach ski van conversions built for the cold before the build starts.
7. Get Condensation Under Control
Every person in the van adds moisture to the air with every breath. Cooking, wet boots and damp ski gear add more. In the cold, that moisture condenses on the coldest surfaces, freezes into frost overnight, and melts back into water when the heater warms the cabin in the morning. Left alone, it soaks insulation, stains wood and grows mould.
- —Ventilate every day: It feels wrong to open a vent when it is –25 °C outside, but a roof fan on low or a window cracked slightly lets damp air out. Do not seal the van completely.
- —Dry gear outside the living space: Hang wet jackets, gloves and boots in a heated gear area or leave them outside the sleeping space whenever possible.
- —Cook with the fan on: Use lids on pots and run the vent fan while you cook.
- —Skip unvented propane heaters: Portable propane heaters release water vapour and use up oxygen, so they make condensation worse and add safety risks. A vented diesel or propane heater is the better choice.
- —Use moisture absorbers: Hanging desiccant bags or moisture-absorbing containers help in closets, cabinets and storage areas.
- —Wipe down in the morning: Wipe windows and any wet surfaces with a towel before the moisture soaks in.
- —Storing the van? Leave cabinet doors and the fridge open, remove cushions and bedding, and put moisture absorbers inside.
8. Test Your Carbon Monoxide, Smoke and Propane Alarms
Combustion heaters, propane appliances and cold-weather habits like sealing every gap all raise the risk of carbon monoxide in a small space. Alarms are your only warning, and the batteries in them are often the first thing to quietly stop working.
- —Test every alarm: Press the test button on your carbon monoxide, smoke and propane detectors, and replace the batteries in each one.
- —Check expiry dates: Detectors wear out. Replace any alarm that has passed the end-of-life date printed on the unit.
- —Position them well: Place a carbon monoxide alarm near where you sleep, away from direct heater airflow.
- —Keep exhaust clear: Snow drifts that bury a heater exhaust or the tailpipe can push fumes back toward the cabin. Check them whenever you park in snow.
- —Never heat with a stove, BBQ or generator: Do not run a camp stove, barbecue or fuel-powered generator inside the van or near its openings.
- —Check your fire extinguisher: Confirm it is charged, in date and reachable from the bed.
9. Get the Vehicle Winter-Ready
A winterized camper van is still a vehicle first. A perfect interior does not help if the van will not start or cannot stop on ice.
- —Winter tires: Fit winter tires marked with the three-peak mountain snowflake symbol. All-season tires lose grip in the cold long before a winter tire does. Check tread depth, and carry chains if your route might require them.
- —Tire pressure: Pressure drops as the temperature drops, roughly 1 psi for every 5 to 6 °C. Check pressure when the tires are cold, and set it to the vehicle's recommended level.
- —Washer fluid: Use fluid rated for –40 °C and carry a spare jug.
- —Coolant: Have the coolant tested to confirm it protects at the temperatures you expect.
- —DEF: Diesel exhaust fluid freezes at approximately –11 °C, but vehicles equipped with DEF systems are designed to manage freezing and thawing. Keep the system properly maintained and follow your vehicle manufacturer's winter recommendations.
- —Block heater: If your van has a block heater, inspect the cord before winter and follow the vehicle manufacturer's recommendations for when to use it.
- —Brakes, wipers and lights: Replace worn wiper blades with winter blades, and have the brakes inspected before mountain driving.
- —Drivetrain: If you plan to travel on snow-covered mountain roads, an AWD or 4x4 van gives you extra traction and control. The Mercedes-Benz Sprinter and Ford Transit are both available in AWD or 4x4 configurations.
Winter tire rules vary by province, highway and park, and some mountain routes in neighbouring British Columbia require winter-rated tires. Check the current requirements for your route before you go.
10. Pack a Cold-Weather Emergency and Sleep Kit
Plan for the day the heater fails, the road closes or the van gets stuck, because in Alberta winters that kind of day eventually arrives. A good kit turns a scary night into an uncomfortable one.
- —Sleep system: A sleeping bag rated to or below the lowest temperature you expect, plus a wool blanket and a hot water bottle (filled with hot water, not boiling) for the foot of the bed.
- —Clothing: Wool or synthetic base layers, spare socks, warm hats, insulated gloves and insulated boots.
- —Snow gear: A shovel, traction boards, an ice scraper and a snow brush.
- —Power and starting: A portable jump pack, a power bank for your phone and a headlamp with spare batteries. Lithium AA and AAA batteries last longer in the cold than alkaline.
- —Food and water: Non-perishable food, plus drinking water stored where it will not freeze.
- —Safety gear: A first aid kit, reflective triangles, a tow strap and a fire extinguisher.
- —Navigation: Offline maps and a printed route, because mountain cell coverage is patchy.
- —A plan: Tell someone your route and when you expect to check in.
11. Plan Your Parking, Power and Routes
Where and how you park matters as much as the van itself in winter.
- —Park for shelter: Face the van so the wind hits the front, not the side, and avoid low hollows where cold air collects overnight.
- —Watch the snow: Brush snow off solar panels, and keep the heater intake, exhaust and tailpipe clear. Check them again if it snows overnight.
- —Use hookups when you can: A campground with winter electrical hookups lets you run an electric heater and spare your batteries. Many campgrounds close or reduce services in winter, so call ahead.
- —Check the roads: Use 511 Alberta, DriveBC and Parks Canada road reports before driving mountain routes, and fill up with fuel before long stretches. Winter services along mountain highways are limited.
- —Know the camping rules: Overnight camping in national parks is generally limited to designated campgrounds, and winter options are limited. Check current Parks Canada regulations before your trip.
- —Choose easy overnight spots: In winter, a plowed lot near services is usually a better choice than a remote spot with a nice view.
12. Do a Test Night Before the Cold Snap
The best way to find problems is to find them at home, where a fix is a short drive away. Before the first serious cold arrives, spend a night in the van in your driveway or at a nearby campground, ideally on a night when the temperature drops below freezing.
- —Record your starting point: Write down the battery level before bed and again in the morning, so you know how much power the heater, fan and lights actually use overnight.
- —Watch the heater cycle: Note how often it runs, how loud it is and whether the cabin stays comfortable.
- —Look for condensation: Check windows, the ceiling, the bed platform and cabinets in the morning, because wet spots show where moisture is collecting.
- —Feel for cold spots: Check around the sliding door, windows and floor for drafts or cold surfaces.
- —Test your safety gear: Confirm the alarms are working and the exhaust stays clear.
Make a list of what you find, fix it, and repeat the test on a colder night. By the time –30 °C arrives, nothing should be a surprise.
Common Winterization Mistakes to Avoid
- —Using automotive antifreeze in the water system: Only propylene glycol RV or marine antifreeze belongs in plumbing.
- —Charging lithium batteries below freezing: Unless the battery is built for it, it can cause permanent damage.
- —Closing every vent to trap heat: A sealed van fills with moisture quickly. Keep some airflow.
- —Running a portable propane heater overnight: It adds moisture, uses oxygen and raises safety risks.
- —Letting the fuel run low: An empty-ish tank limits your heater, your engine and your options.
- —Forgetting the grey tank, toilet and traps: They freeze first and are easy to miss.
- —Storing the van with damp gear and cushions inside: It is the fastest route to mould by spring.
- —Skipping the test night: It takes one evening and surfaces most problems.
Built for Alberta Winters: How Reliable Campers Approaches Cold-Weather Builds
Winterizing is far easier when the van was designed for the cold from the start. At Reliable Campers, we build every custom camper van in Calgary, Alberta, for real four-season use, including –30 °C nights in the Rockies. Our builds are designed around the same systems this checklist protects:
- —Moisture-resistant insulation: High-performance thermal insulation that fights both the cold and the condensation that comes with it.
- —Reliable heating: Diesel or propane air heaters, with hydronic heating options that help protect water lines from freezing.
- —Winterized plumbing and insulated window covers: Built in from the start rather than added later.
- —Off-grid power: Lithium battery banks and solar systems sized for how you actually travel.
If you are still weighing your options, our comparison of adventure vans vs RVs for winter camping explains how each handles extreme weather, and our guide to camper van build costs in Canada breaks down what winter-ready features add to a build. You can also see how we build for the Alberta climate on our Alberta camper vans page.
Frequently Asked Questions
Winterizing a camper van raises plenty of practical questions, from timing to batteries to safety. Below are the answers we give most often to Alberta van owners.
Start Your Custom Camper Van Build Journey
Ready for a camper van that handles Alberta winters without the stress? At Reliable Campers, we work with you to design and build a custom van around your travel style, your gear and the kind of cold you plan to face. From weekend ski vans to long-term winter homes, we build conversions that are engineered to last.
Contact Reliable Campers